Manage Schedules
xConnect supports a robust scheduling engine that allows you to automate pipeline execution on a hourly, daily, or weekly basis.
Note
As of May, 2023 release, Manage Schedules is an experimental feature and may contain bugs. Report any issues found to support@senecaxconnect.com
Accessing Scheduling
1. Log in as a power user
2. Ensure experimental features is enabled for your account:

3. Click on the "Schedules" menu item in the "Workflows" section
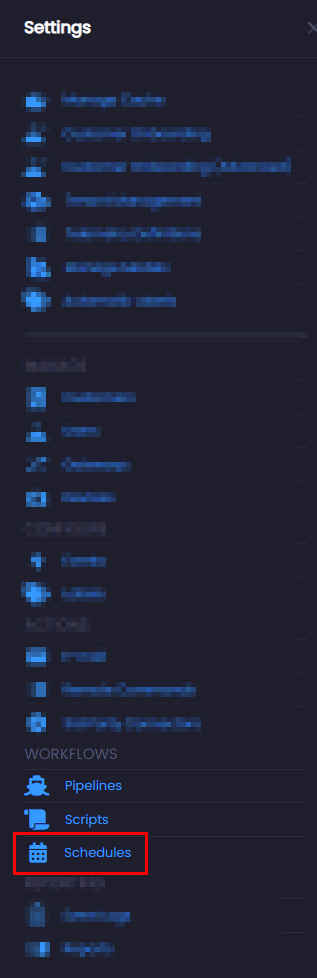
Upon navigating to the manage schedules page, you will see a list of all active schedules.
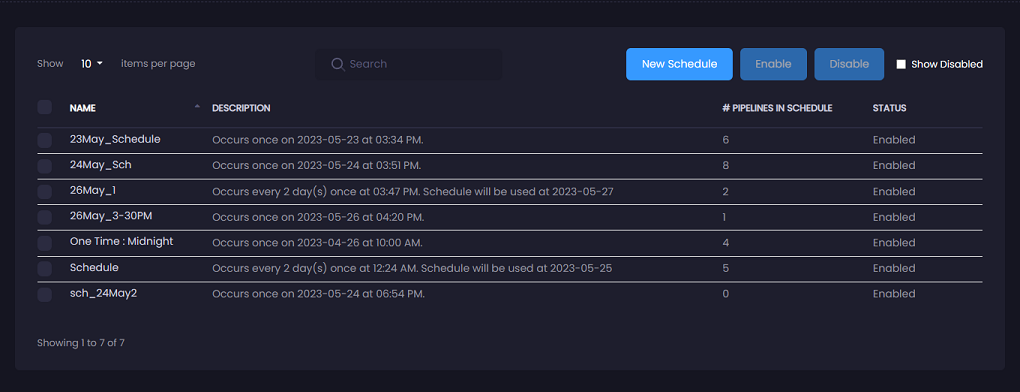
Creating/Updating a schedule
Schedules currently are supported for pipeline automations only. Please see piplines for more information. You can create a new schedule by clicking the "New Schedule" button on the Manage Schedules page.
1. Upon clicking the "New Schedule" button, the schedule editor will appear. This is a form that allows you to set up a recurring or one-time schedule:
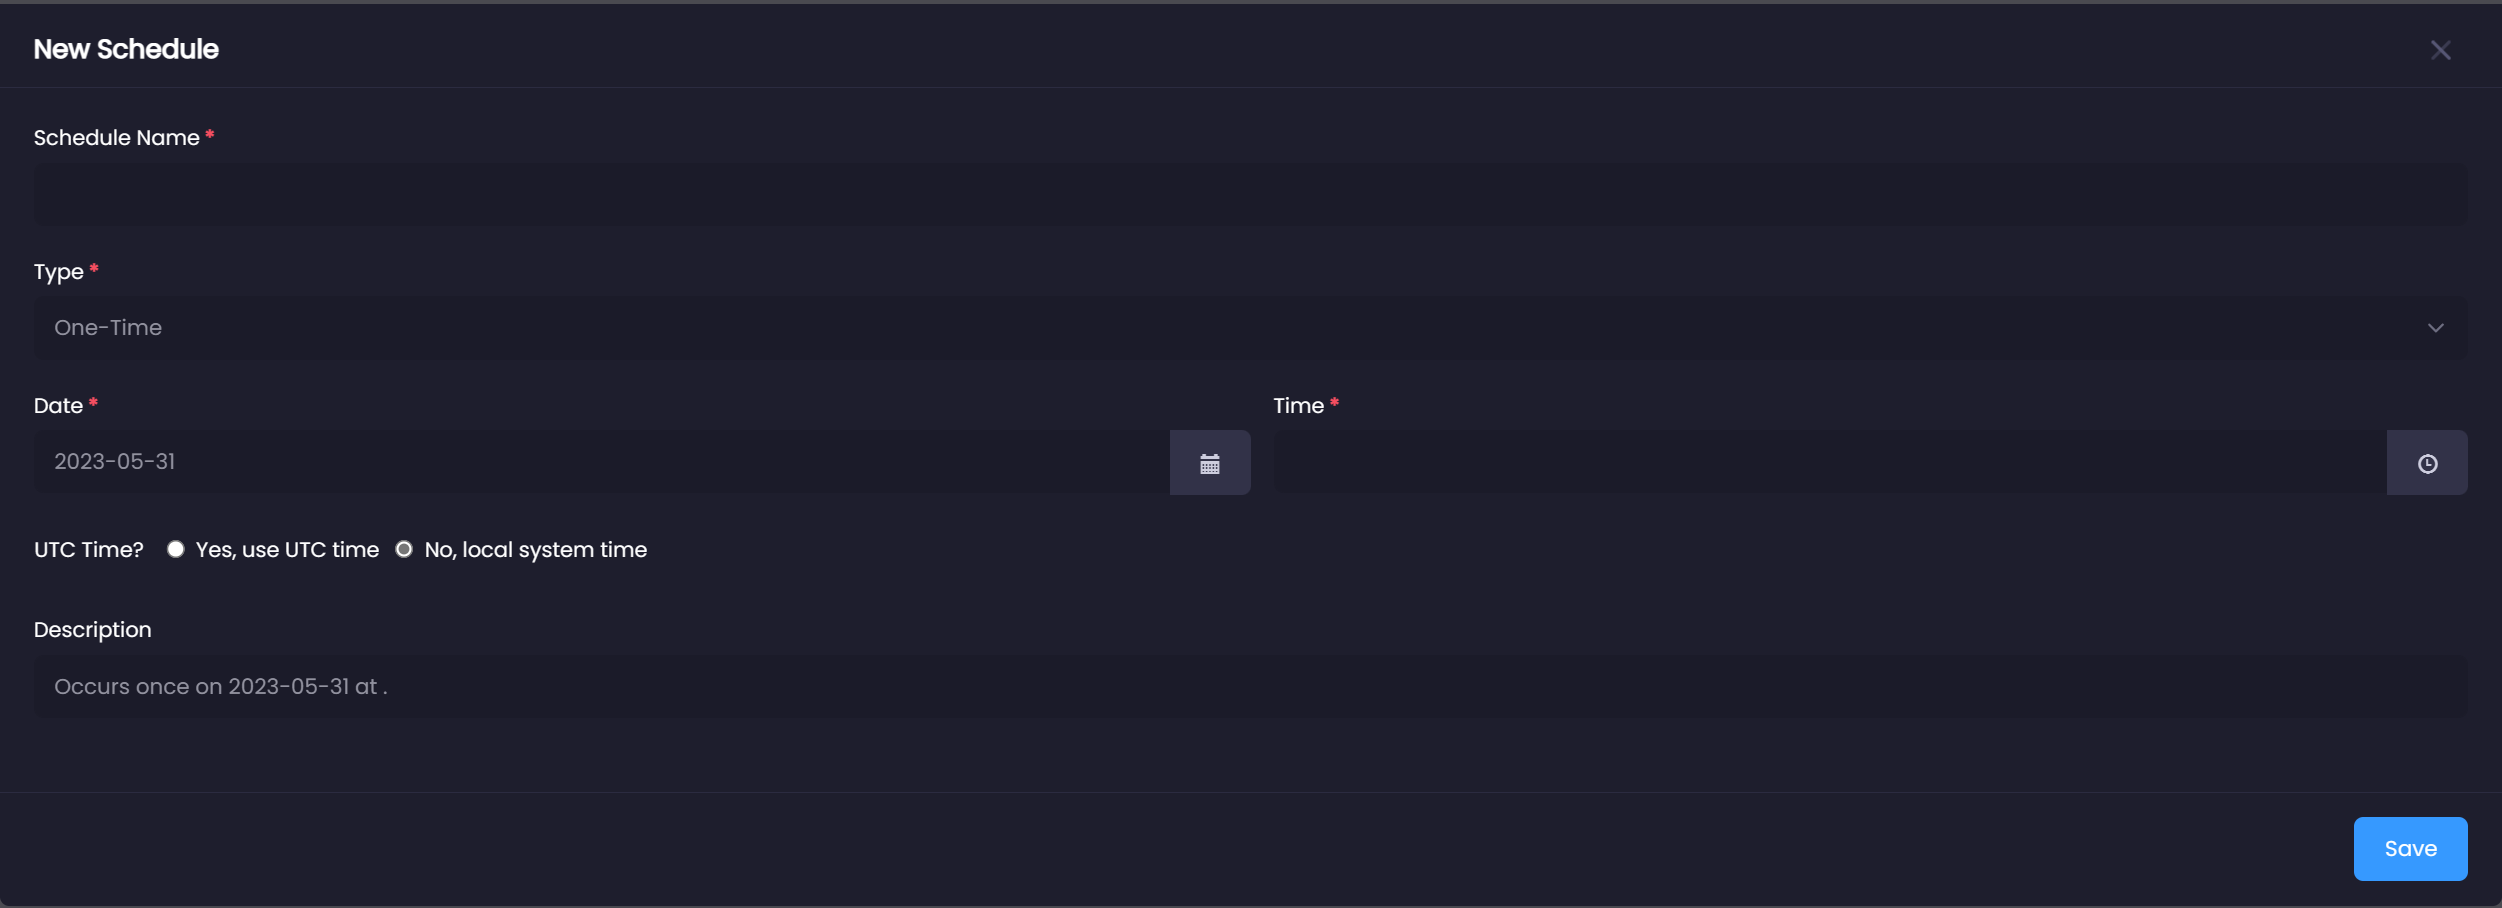
2. There are currently two types of schedules: 1) One-Time, which is meant to be run one time only, and 2) Recurring, which will run on a hourly, daily, or weekly basis.
3. Fill in all required fields and press save, this will create the schedule that can be then assigned to a pipeline.
See below for notes on the various uses of this functionality.
Notes
- The "UTC Time?" field will drive whether to use the agent's local time, or UTC. This will impact when the pipelines are run.